Hero Banner Examples
Default Hero Banner

This is the intro text to the banner
This is the default hero banner
A caption can be added here if needed.
Bold Caption Hero Banner With Video
This is the intro text to the banner
This is the bold caption hero banner
A caption can be added here if needed.
Boxed Style Hero Banner
This is the boxed hero banner
A caption can be added here if needed.
Adding a Hero Banner Block
Method 1 – Use a forward slash (/) and then type out “hero banner”. The hero banner block should show up.
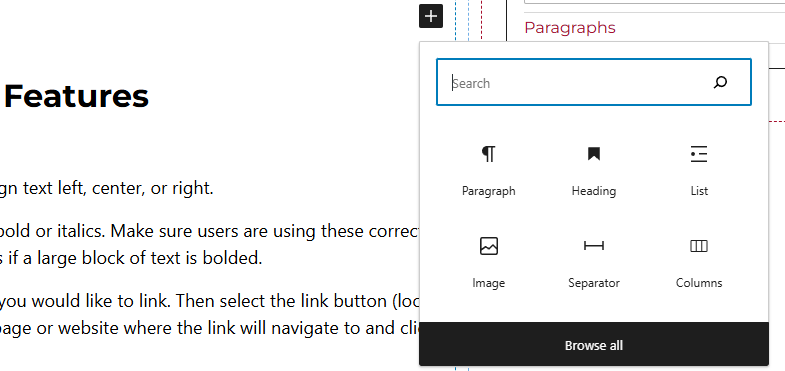
Method 2 – After selecting the editor, the user should see a + icon. Selecting this should show a list of the most common blocks used. If the hero banner block is not there, use the search feature to find it.
Hero Banner Block Features
When the hero banner block is added to the page, the user will be able to select the hero banner text fields within the block and enter the intro text, the hero banner text, and a hero banner caption.

Side Panels
After selecting the hero banner block, the user will see the following options on the right hand panels:
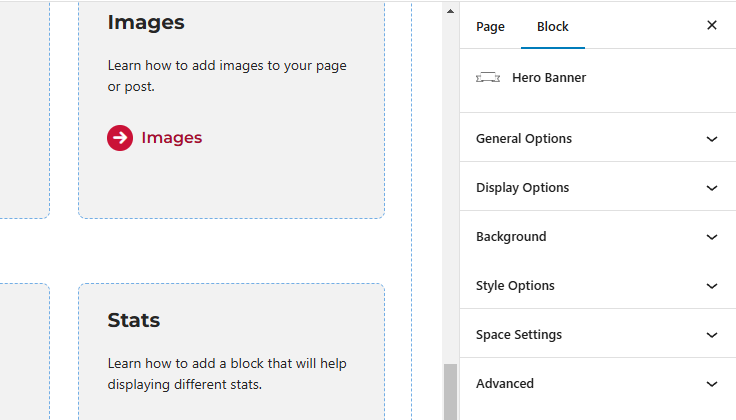
- General Options – Users will be able to set the hero banner title as the h1 for the page. Users will also be able to add the URL for the banner link, along with changing the button text and assigning photo credits.
- Display Options – Change the height of the banner, select the overlay for the image, and choose a pattern to have over the image.
- Background – Select the type of background for the banner. Options include image, video, or slider. If video is selected, the video needs to be hosted on Vimeo. User will need to enter the video ID, video title, and video text description.
- Style Options – Change the style of the hero banner.
- Space Settings – Users can add margin to the block. This is usually done to add more spacing around block so they are not too close to other elements.
- Advanced – Allows users to schedule the block, position the block, and hide the block on a specific breakpoint.
- Block Scheduling (if enabled) – Allows block to be scheduled. This causes the block to be published or unpublished depending on the date selected.