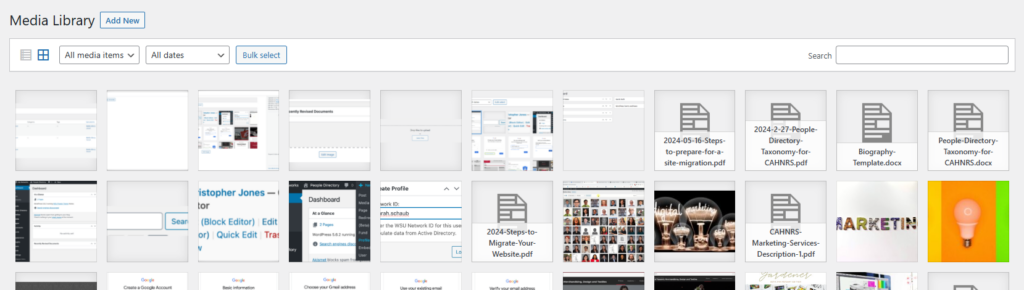
The media library is the central storage area for all of media files. This includes the media file types such as jpg, pdf, doc, gif, png, etc.
Adding Media Files
- Select the “Add New” button to upload files.
- Users will be able to drag and drop files from their computer into this section or they can select “Select Files” to add files from their computer.

Managing Individual Files
- Select the individual file to edit.
- The user will then see a screen similar to the one below. Here they will be able to see the following information:
- File Information: upload date, uploader, file name, file type, size, and dimensions.
- Alternative Text: Descriptive text that lets screen readers know what is happening in the image. This is an important requirement for accessibility.
- Title, Caption, and Description of the image
- File URL
- Categories and Tags
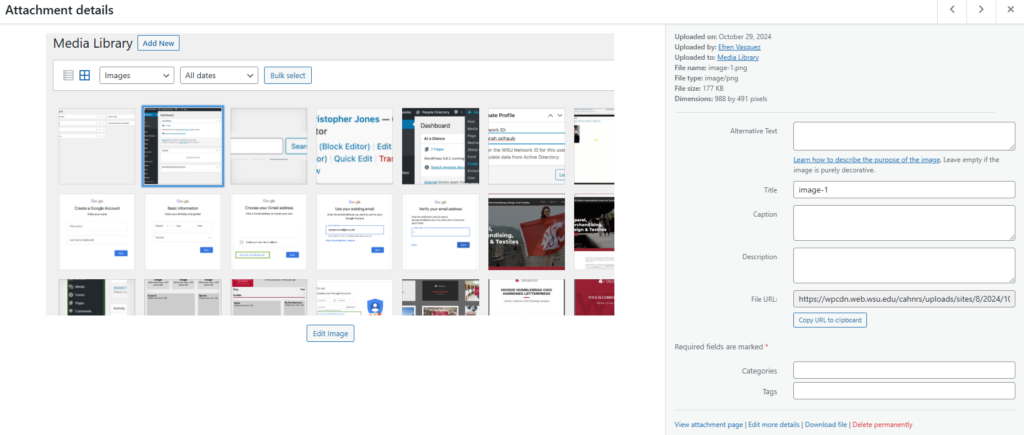
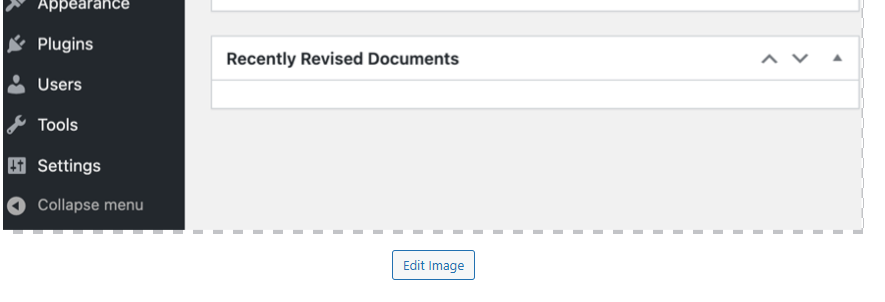
- Option to edit image. Select “Edit Image” button on the bottom of the file.
- Other options available
- View attachment page
- Edit more details
- Download File
- Delete Permanently: If file is deleted, it cannot be retrieved back.
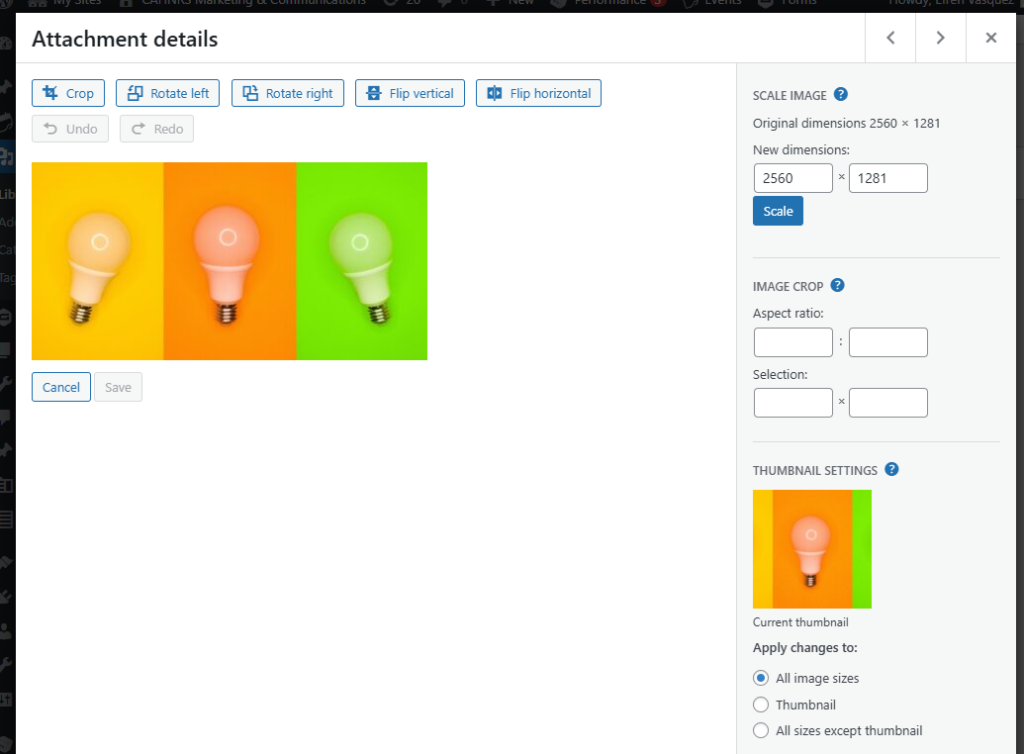
Editing Images in the Media Library
- After selecting “Edit Image”, the following options will be available:
- Crop
- Rotate Image
- Flip Image
- Change dimensions of image
- Apply settings to all the image sizes or just the thumbnail.
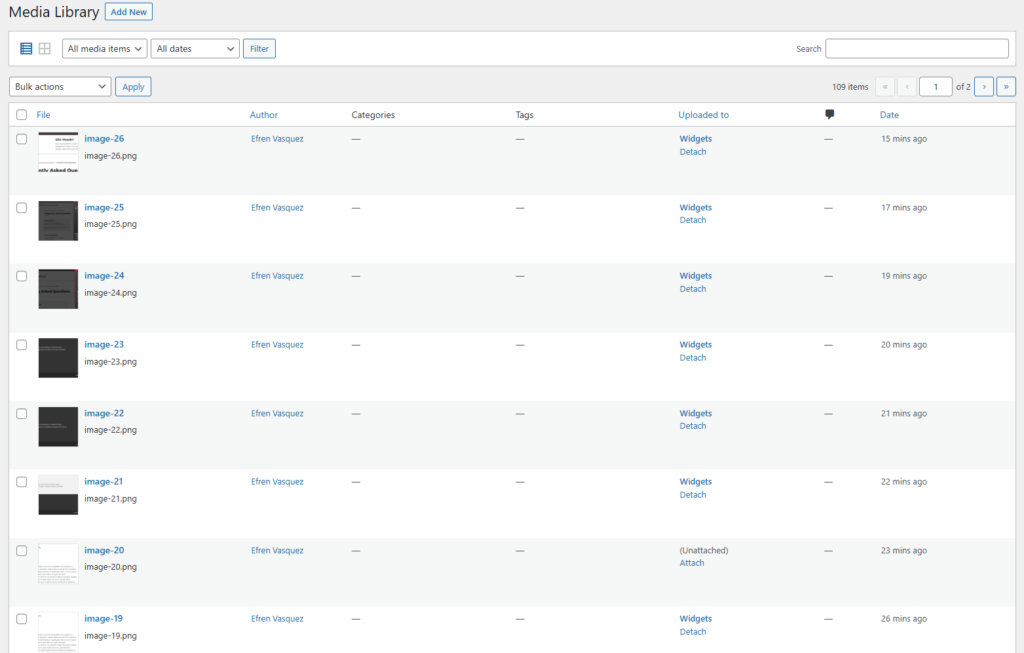
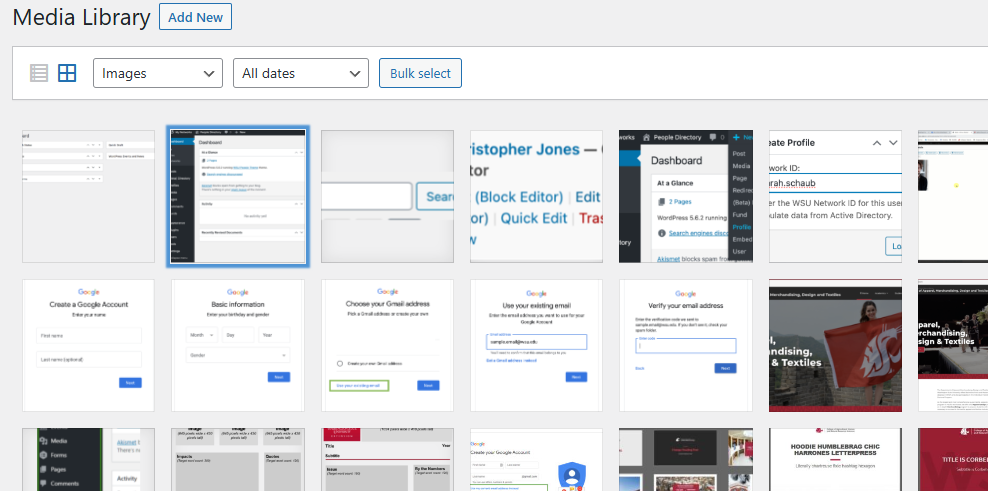
View Options
Grid View: View all images in a grid view. This view is the default view for WordPress and it allows users to see more files at once.
List View: List view allows users to see more information about the image without having to select it. Users can see the title, user that uploaded the image, categories, tags, where it was uploaded to, and date uploaded.