Adding a Page
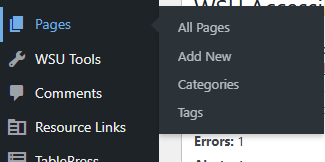
Method 1: Via the dashboard. Hover over “Pages” and then select Add New.
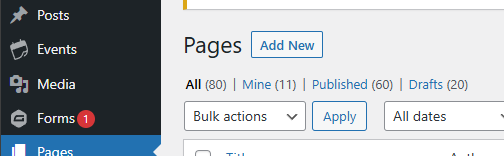
Method 2: Select “Pages” in the admin dashboard. Then select the “Add New” at the top of the page.
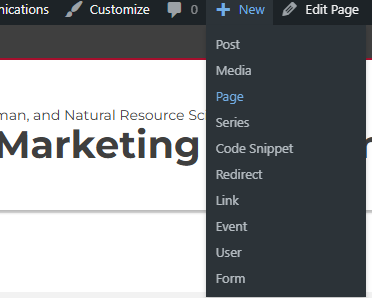
Method 3: On the admin bar, hover over “New” and then select “Page”. This can also be done on the front end of the website.
Creating a New Page
Add a page title at the top of the page.
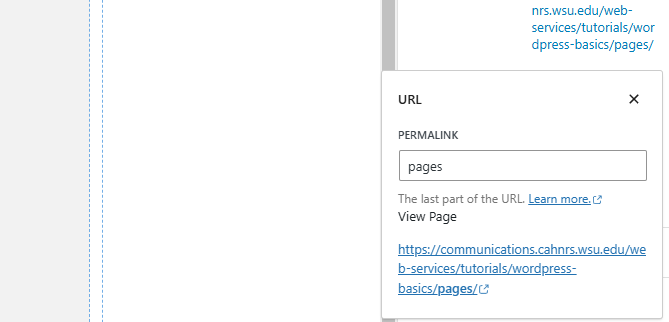
The title is used to create a slug for the page. This slug can be edited to something shorter if needed.
To edit the slug of the page, users select the right hand side panel where it says “URL”. Here users can then enter the new URL of the page. Please make sure to update the link if it’s used on other pages.
Visibility Settings
- Public: Everyone will be able to see this page.
- Private: Pages that will only be visible to Administrators and Editors of the website. If the WSU Content Visibility plugin is activated, then users will see options that will allow only WSU users to view the page. They will be required to use their WSU NID and Password to log in before they can see the page.
- Password Protected: Can only be viewed by users that have a password.
Publishing Options
- Immediate: Will publish the page as soon as user selects “Publish”
- Scheduled: Will be published at a later date.
- Pending Review: Marks the page for review before publishing. Only site administrators and editors will be able to see it until it is approved and published.
Categories
Users can assign an already existing category to the page here. If the category doesn’t exist, then the user can add it by selecting “Add New Category”.
Tags
Users can also assign tags to the page. This functions the same way as the categories.
Featured Image
This is the image that will be used as the thumbnail image if a feed is set up for pages. The image selected can also be shown at the top of the individual page if the template is set up in that way (Through the customizer).
Excerpt
Used to write a one or two sentence description of the page.
Page Attributes
Assign the parent page of the new page (if applicable).
Editing an Existing Page
Method 1: While in the WordPress Dashboard, select “Pages”. After the page loads, a list of all of the pages on the website will show. Find the page by either scrolling on the page or searching for the page title on the top right.
Method 2: While viewing the page on the front-end of the website and being logged in, the admin bar will have a link labeled as “Edit Page”. Select this link to be redirected to the page in the dashboard.
Quick Edit Options for Pages
While viewing the list of all of the pages, hover over an individual page and select the “Quick Edit” link. This will show the following editable options:
- Title
- Slug
- Date
- Author
- Password
- Parent Page
- Tags
- Categories
- Post Status.
Quick edit can also be applied to multiple pages at once. To do this, select all of the pages that will need to be edited. After pages are selected, select “Bulk Actions” and then “Apply”.
Delete a Page
While viewing a list of all the pages, hover over the page that needs to be deleted. An option called “Trash” will show up. Selecting this will send the page to the trash.